Why take this course
In this final course in the Architectural Visualization series, David will focus on the final result of the renders obtained from the previous course. He will go over the refining steps needed to create a realistic, stunning and artistic image. You will learn how to position the elements to get a great composition, how to adjust the lighting in the scene, and adjust the materials to get the perfect render image.
Various software will be used, like Autodesk 3Ds Max, Corona Renderer, Adobe Photoshop, Marvelous Designer, and Substance Painter to name a few. This course is a continuation of the Architectural Visualization - 3D production course.
Learn how to produce amazing visuals
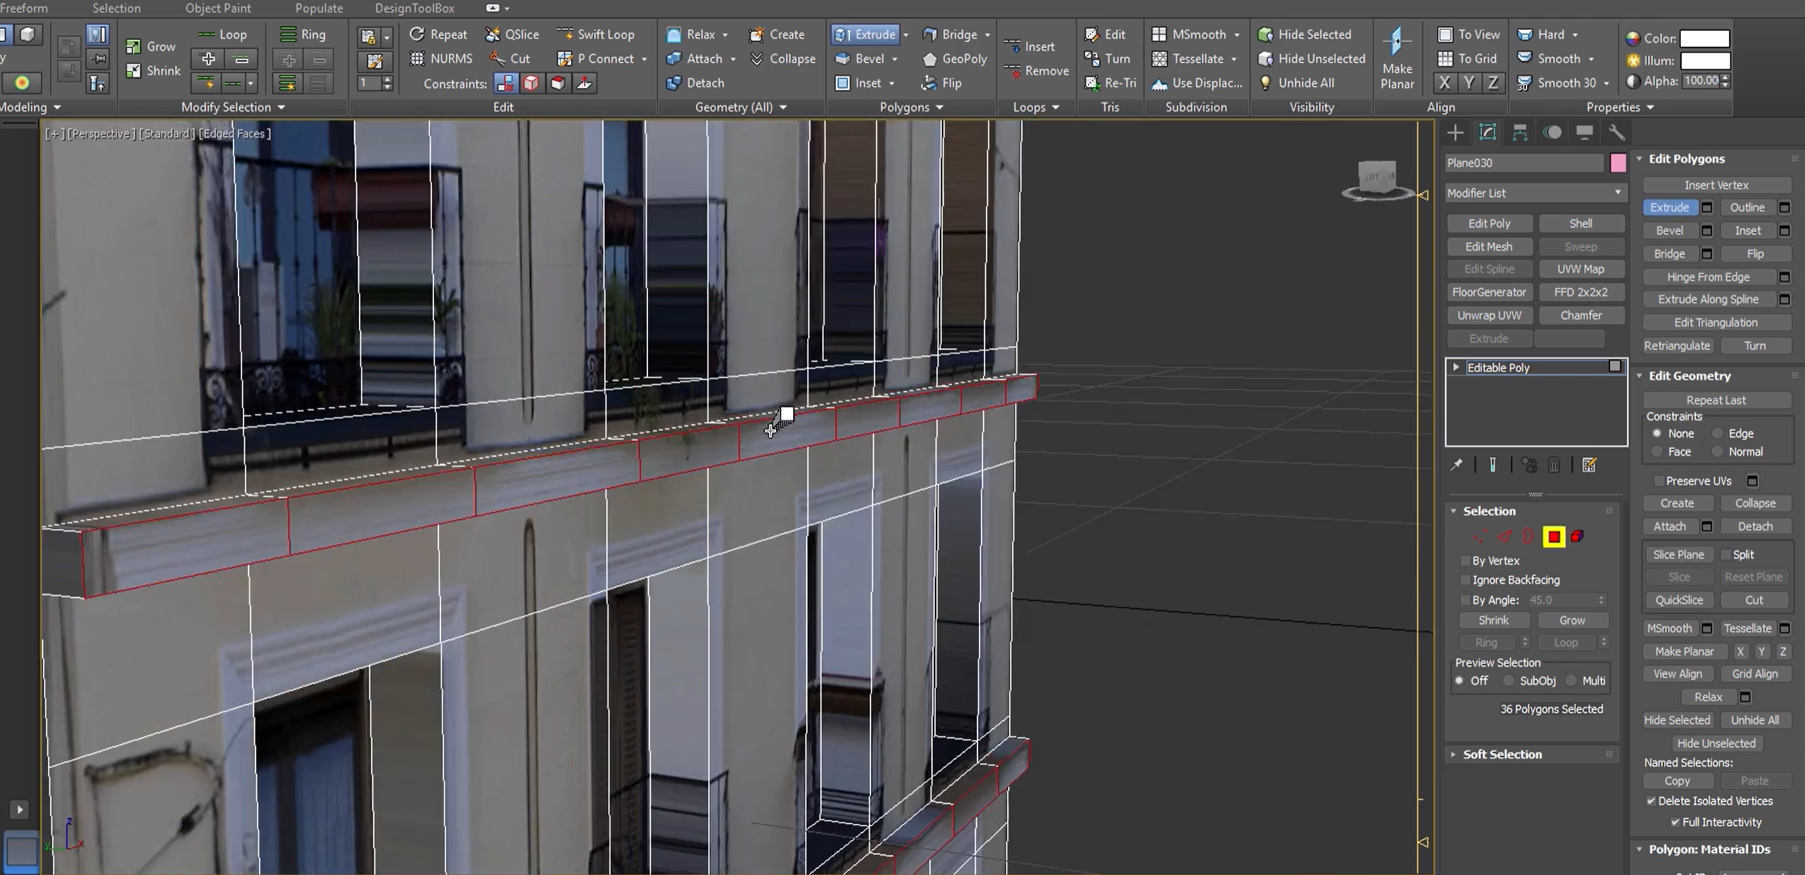
David really gets into the details about how to get a stunning visual image. You will learn how to reframe your scene and set the camera just right to get the perfect shot. David shows you how to set up a background with buildings in Photoshop and how to match realistic exposure between the interior and exterior. You´ll learn what the difference is between 8-bit and 16-bit images and when to use either one and much more.
Finetune your visual composition
We start by analyzing the renders from the previous course and understand what can be improved. David gives various tips and tricks about what to look out for. From choosing between 8-bit and 16-bit images, reframing your 3d scene to get the perfect composition and various other settings to be considered.
Set the lighting just right
Having your image look natural and realistic depends a lot on getting the lighting just right. David will go into detail about the relationship between interior and exterior lighting and how to get the exposure right, together with other important settings and elements.0

Create material masks and use smart compositing in Photoshop
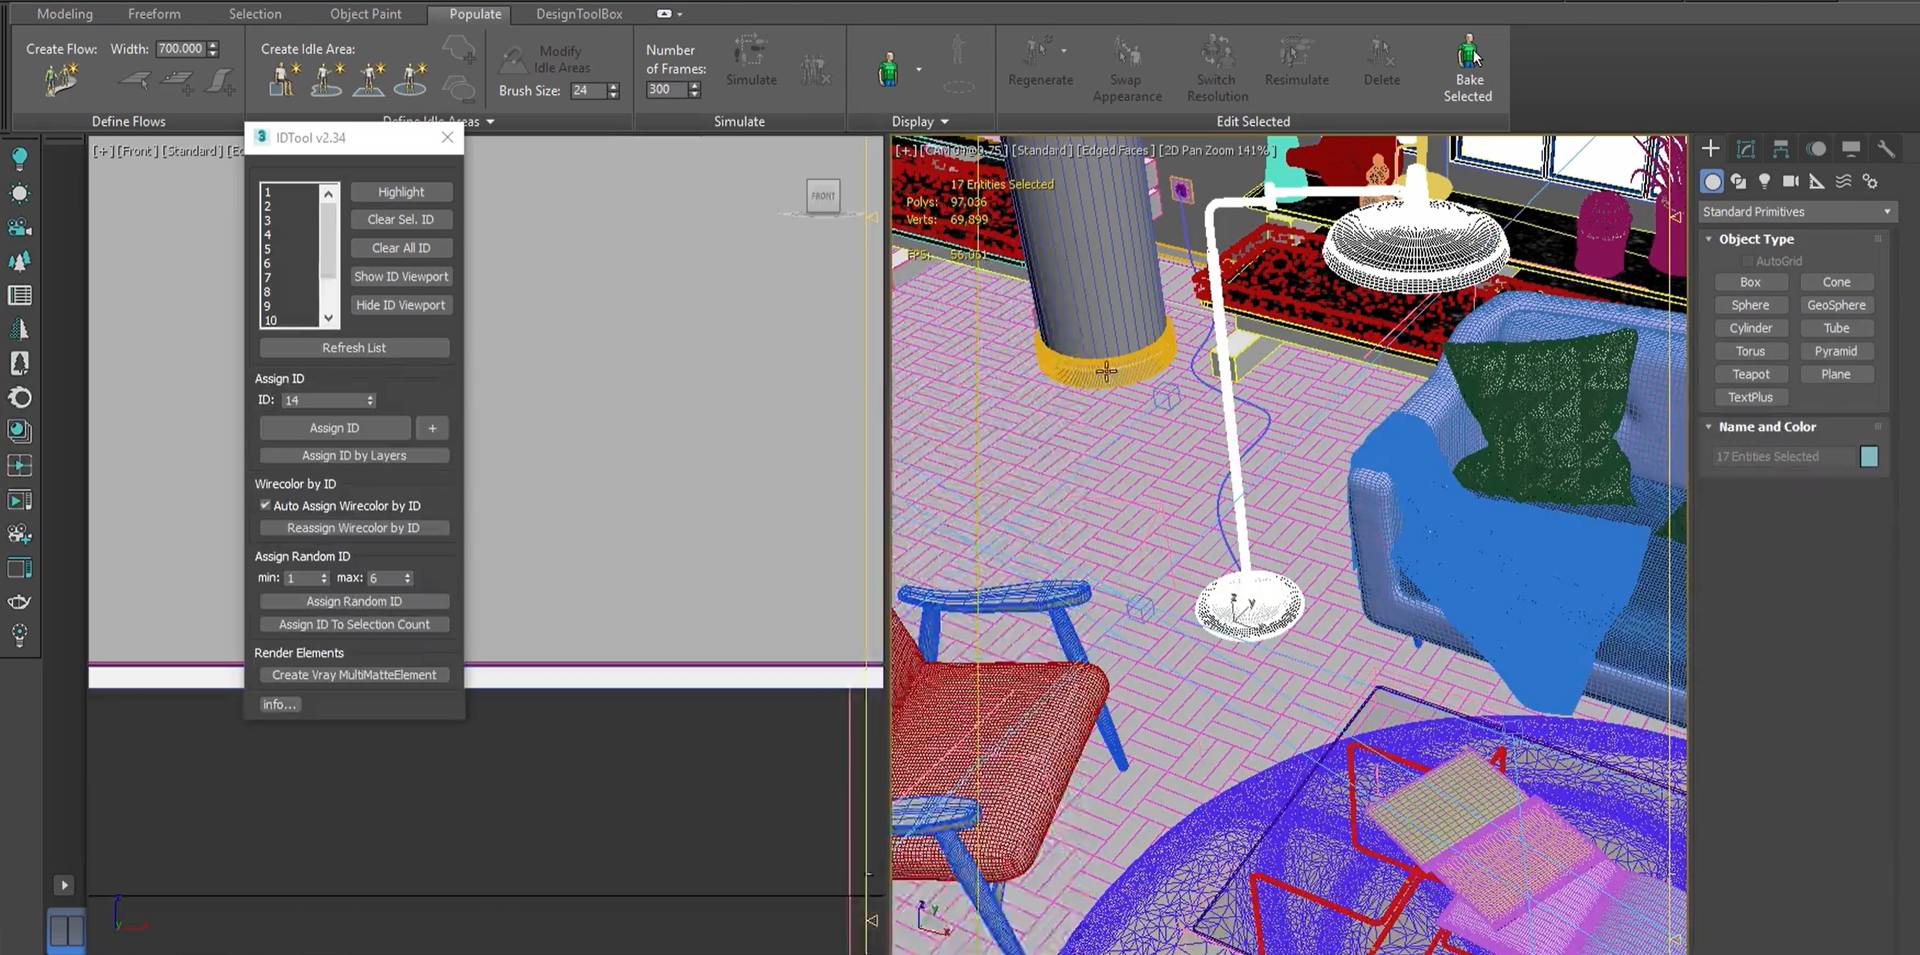
David will show how to create multi-material masks from your renders and how to manipulate them in a smart way in Photoshop. When the masks are created you’ll learn how to import them and assemble a smart and efficient composite template in Photoshop.
Create an attractive background
You’ll learn how to collect various images of buildings from the internet. And David will show you what settings to use if you’re going to take photos of buildings yourself. When you have collected all the images, David will show you how to put them all together in Photoshop and what settings to use s the images don’t get distorted and fit well together.

1.- Analyzing the renders to make improvements
05min 06seg2.- Improvements in 3D models and lighting
02min 53seg3.- Reframing the 3D scenes
04min 28seg4.- 8 bpc or 16 bpc
09min 00seg5.- Building the background
11min 28seg6.- Matching realistic exposure of interior and exterior
03min 43seg7.- Creating material masks instead of rerendering
06min 18seg8.- Multi Mat selection
05min 27seg9.- Compositing in Photoshop
20min 08seg10.- Overview of a final render and its steps
10min 07seg11.- Another technique to create background buildings
08min 57seg
